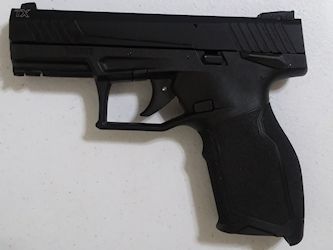
Taurus TX22 Slide Disassembly and Cleaning Instructions
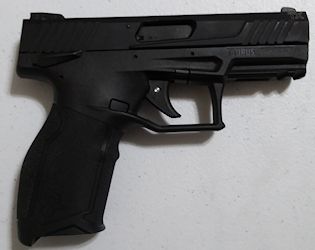
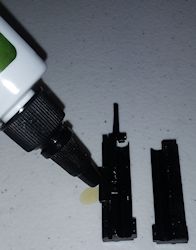
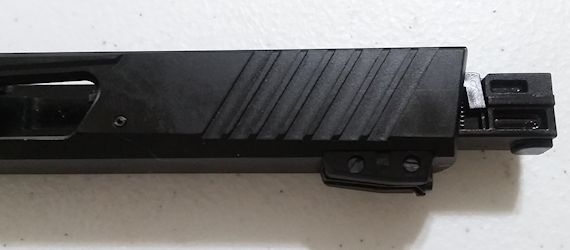
These instructions explain how to disassemble and clean the slide on a Taurus TX22. This includes the Striker and Striker Housing. The reason this needed to be done was because when this TX22 was brand new, it had a lot of ejection problems and experienced a lot of light strikes which caused many rounds not to fire. After cleaning, more than 1,000 rounds ran through it with very few problems.
These are the steps I took to help a friend disassemble and clean the slide on a Taurus TX22 including the striker and striker housing.
I'm not a gunsmith so I recommend work on firearms be carried out by a licensed professional.
This is a guide to help you be a more knowledgeable consumer.
I assume no liability for any injury to any person or damage to your firearm resulting from attempting this.
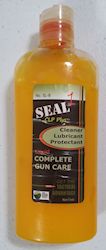
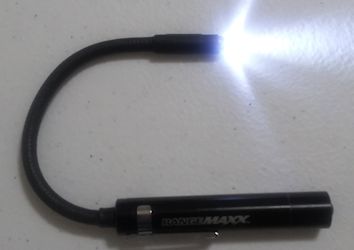
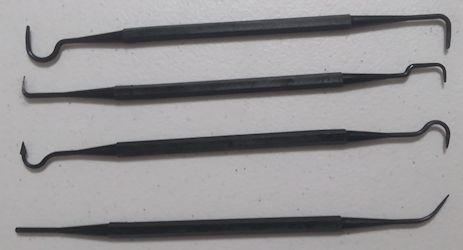
Step 1 - Items used in these instructions
You will also need a punch (hand tool) or a similar
Step 2 - Print out the parts identifier picture (optional)
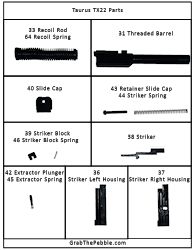
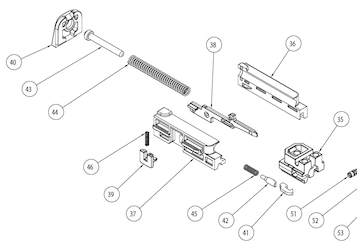
You can use these pictures to help identify the parts.
If you print out the "Parts Identifier" picture on a 8" x 11" piece of paper and select the "Fit to page" option,
the pieces should be approximately the correct size.
Printing it will allow you to put your parts in the corresponding boxes as you're going through the steps to help keep them organized.
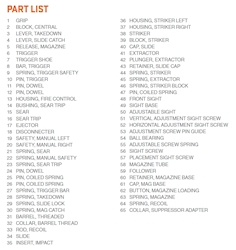
The "Partial Exploded View" can be found in the Instruction Manual that came with your pistol. If you can read the manual, your eyes are better than mine. Luckily, the manual can also be found on the Taurus website. The numbers on the "Parts Identifier" use the numbers given to the pieces in the manual.
The "Partial Exploded View" can be found in the Instruction Manual that came with your pistol. If you can read the manual, your eyes are better than mine. Luckily, the manual can also be found on the Taurus website. The numbers on the "Parts Identifier" use the numbers given to the pieces in the manual.
Step 3 - Make sure your pistol isn't loaded
Make sure the magazine is removed and the pistol doesn't have a round in the chamber
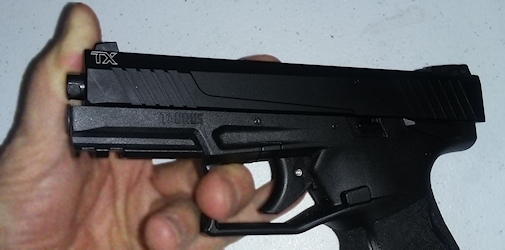
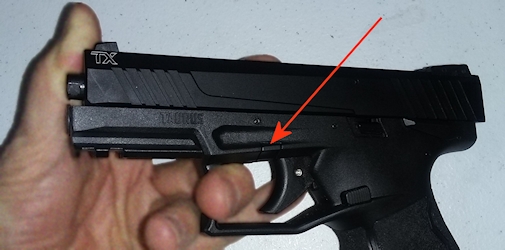
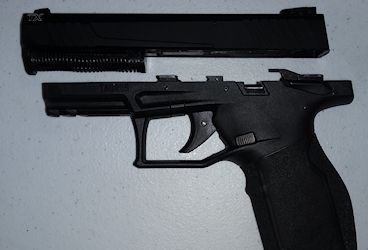
Step 4 - Remove the slide assembly
I have a difficult time doing it as the manual says so this is how I do it.
- Pull the trigger.
- Put your left finger in the trigger guard for leverage.
- Push the slide back about 1/2" with your thumb.
- Push the disassembly latch down.
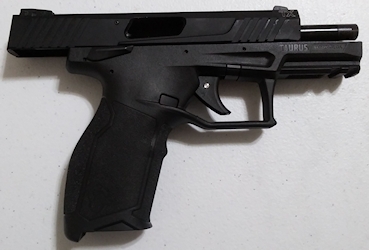
- Push the slide forward and remove it.
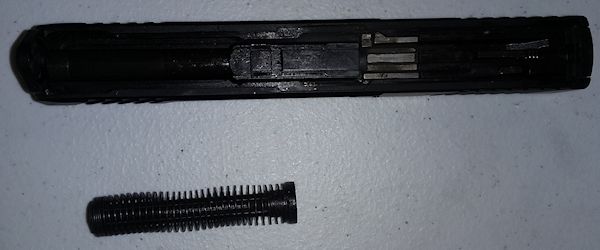
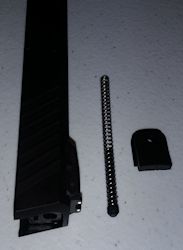
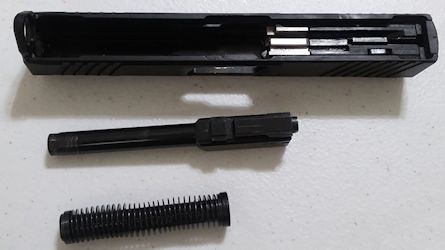
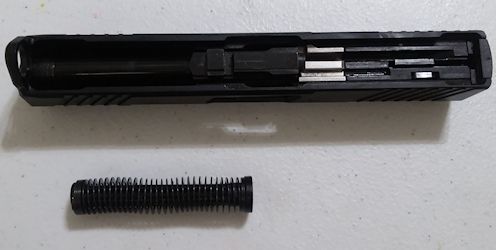
Step 5 - Remove the Recoil Spring Assembly and Barrel
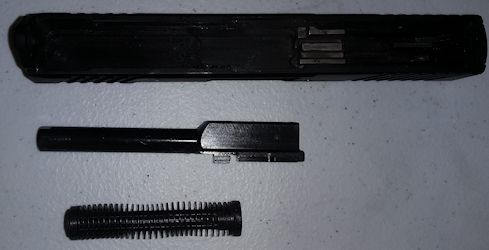
Remove the Recoil Spring Assembly (33 and 64) and the Barrel (31)
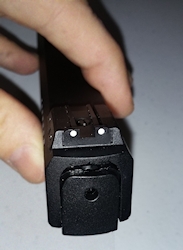
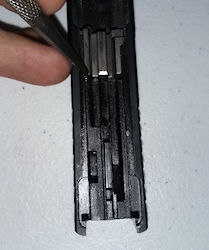
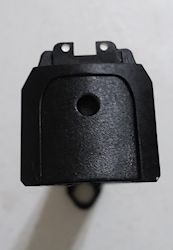
Step 6 - Open the Slide Cap
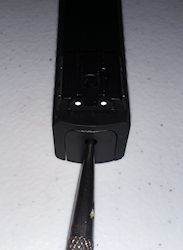
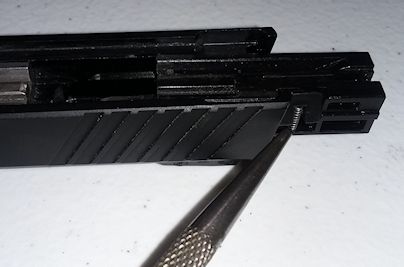
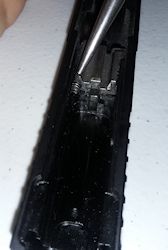
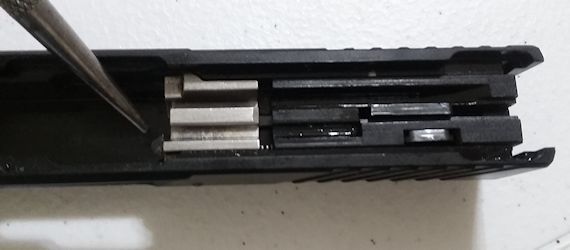
Use a punch or something similar to push in the Slide Cap Retainer (43).
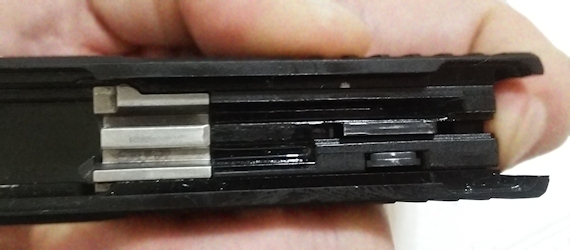
Push the Slide Cap (40) down past the Slide Cap Retainer. As soon as it clears the Slide Cap Retainer, you can remove the punch from the hole.
Keep your finger over the opening so the Slide Cap Retainer and Striker Spring (44) don't fly out.
Push the Slide Cap (40) down past the Slide Cap Retainer. As soon as it clears the Slide Cap Retainer, you can remove the punch from the hole.
Keep your finger over the opening so the Slide Cap Retainer and Striker Spring (44) don't fly out.
Step 7 - Remove the Slide Cap, Slide Cap Retainer, and Striker Spring
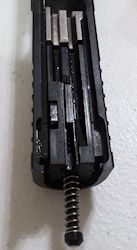
Remove the Slide Cap (40), Slide Cap Retainer (43), and Striker Spring (44)
Step 8 - Remove the Striker Housing Assembly
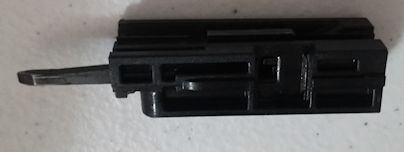
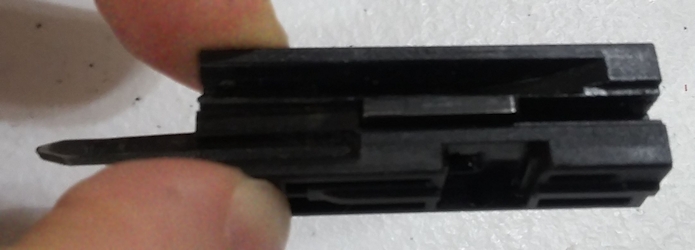
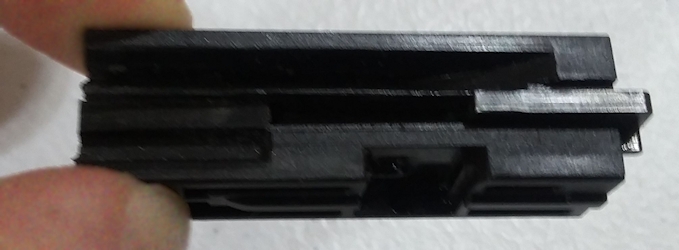
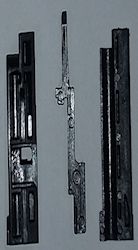
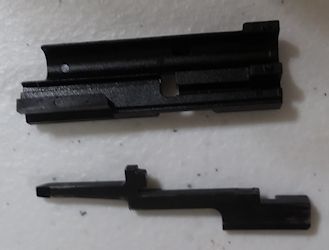
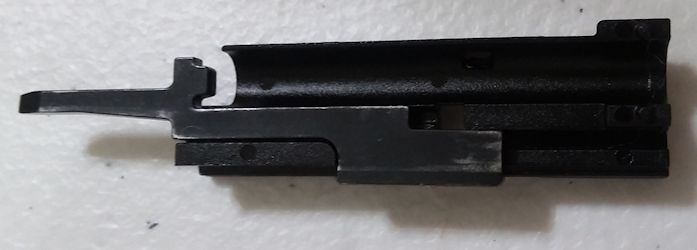
The following pieces come out as a unit and nothing is holding them together other than the sides of the slide:
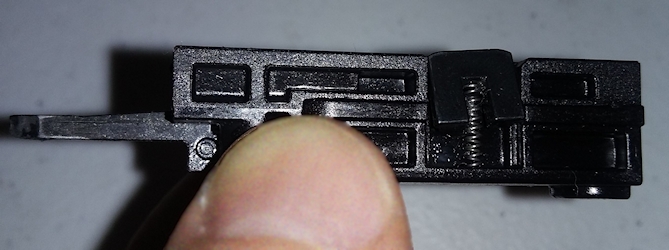
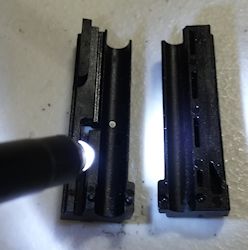
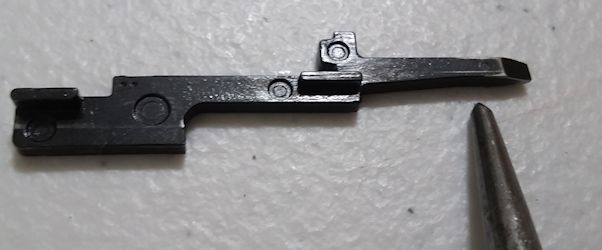
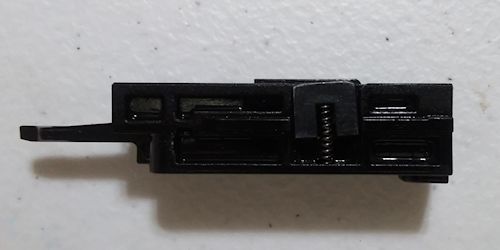
Notice the Striker Block (39) and Striker Block Spring (46) are inside the Striker Right Housing (37)
- Striker Left Housing (36)
- Striker Right Housing (37)
- Striker (38)
- Striker Block (39)
- Striker Block Spring (46)
Step 9 - Put the Striker Block and Striker Block Spring aside
Remove the Striker Block (39) and Striker Block Spring (46) and put them aside
Step 10 - Slide the Striker forward and back
While holding the Striker Left Housing (36) and Striker Right Housing (37) together, slide the Striker (38) forward and back.
I suggest you do this just to get a feel for how it is before working on it.
Initially, even when this one was brand new, it felt gritty and didn't slide as smooth as I would like.
I suggest you do this just to get a feel for how it is before working on it.
Initially, even when this one was brand new, it felt gritty and didn't slide as smooth as I would like.
Step 11 - Take the Striker Housing apart
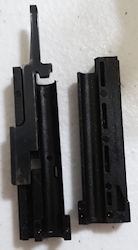
Separate the Striker Left Housing (36), Striker Right Housing (37), and Striker (38) pieces.
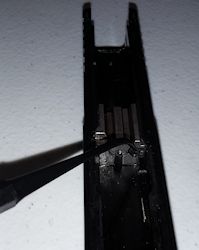
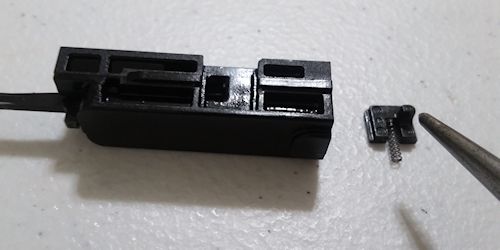
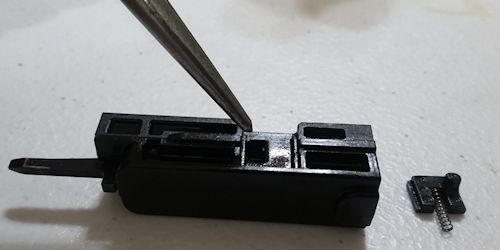
Step 12 - Remove the Extractor Plunger and Extractor Spring
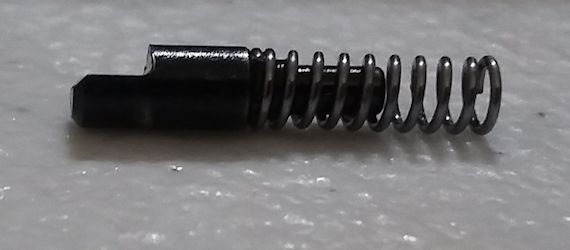
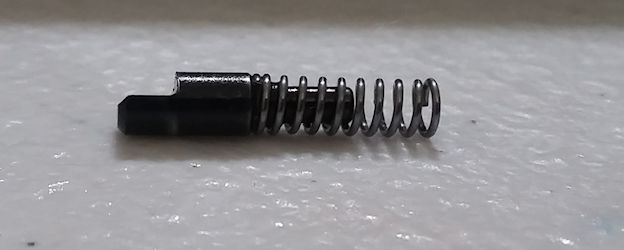
Remove the Extractor Plunger (42) and Extractor Spring (45).
The Extractor (41) will stay in place.
I didn't want to punch out the Coiled Spring Pin (47) so I left the Impact Insert (35) installed.
Step 13 - Clean the Slide assembly
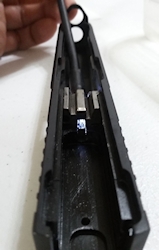
Thoroughly clean the slide including the grooves, Extractor (41) and Impact Insert (35).
Be sure to scrape inside the hole where the Striker (38) goes through the Impact Insert.
I used some pipe cleaners, some cleaning picks, and a bore light to help with the cleaning.
Be sure to scrape inside the hole where the Striker (38) goes through the Impact Insert.
I used some pipe cleaners, some cleaning picks, and a bore light to help with the cleaning.
Step 14 - Clean the Striker Assembly parts
Clean all the Striker Assembly parts.
Be sure to clean the grooves in the Striker Left Housing (36) and Striker Right Housing (37) where the Striker (38) moves.
When this pistol was brand new it had a lot of ejection problems and light strikes. When I initially examined the Striker it felt gritty in my fingers. I cleaned it really well and scraped it with my fingernails to get it nice and smooth.
After the thorough cleaning, more than 1,000 rounds ran through it with very few problems. So many rounds went through that the striker is showing signs of wear.
Step 15 - Install the Extractor Plunger and Extractor Spring
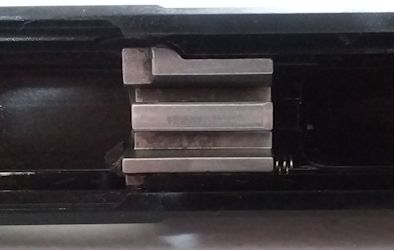
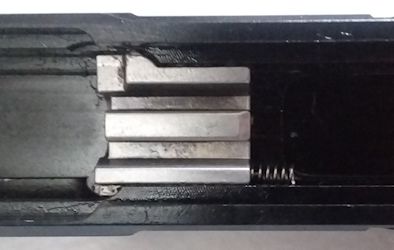
When the Extractor Plunger and Extractor Spring are inserted back into the Impact Insert (35),
the extended part of the Plunger goes towards the outside of the slide.
You should only see about 3 windings of the spring when it's in correctly.
When it does slide in correctly, you might notice the Extractor (41) move out.
You should only see about 3 windings of the spring when it's in correctly.
When it does slide in correctly, you might notice the Extractor (41) move out.
Step 16 - Put the Striker and Striker Right Housing together
Put the Striker (38) in the Striker Right Housing (37) and make sure it slides smoothly.
Step 17 - Put on the Striker Left Housing
Put a drop of gun oil on the Striker wherever it shows some wear then put the Striker Left Housing (36) on.
Once it's together, hold the assembly in your hand and slide the Striker in and out.
It should move smoothly.
Step 18 - Put in the Striker Block and Striker Block Spring
Put the Striker Block Spring (46) on the Striker Block (39) and put them into the Striker Right Housing (37).
The tab on the Striker Block goes inside the hole in the Striker Right Housing.
Step 19 - Verify the Striker Block functions
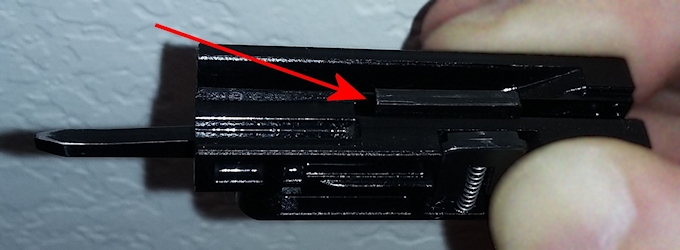
When the Striker Block (39) doesn't compress the Striker Block Spring (46), the Striker (38) shouldn't go all the way forward.
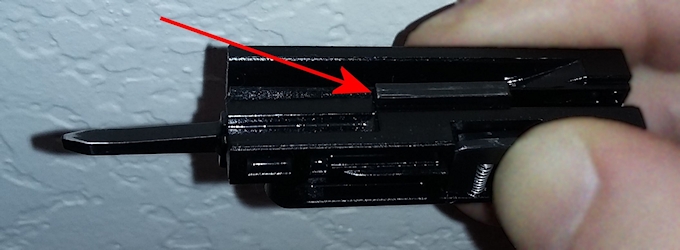
When the Striker Block does compresses the Striker Block Spring, the Striker should be able to go all the way forward.
When the Striker Block does compresses the Striker Block Spring, the Striker should be able to go all the way forward.
Step 20 - Put the striker housing assembly back in the slide
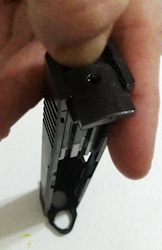
Put the striker housing assembly back in the slide.
The side with the Striker Block (39) goes on the side with the ejection hole.
Pushing the striker housing in should compress the Extractor Spring (45) and the housing should touch the Impact Insert (35).
Pushing on the Extractor (41) will push on the Extractor Spring and put pressure on the striker housing assembly.
Step 21 - Install the Slide Cap
Install the Striker Spring (44), Slide Cap Retainer (43), and Slide Cap (40).
The spring will need to be compressed in order to get the Slide Cap on.
After the Cap goes over the Retainer, it will snap in place.
The spring will need to be compressed in order to get the Slide Cap on.
After the Cap goes over the Retainer, it will snap in place.
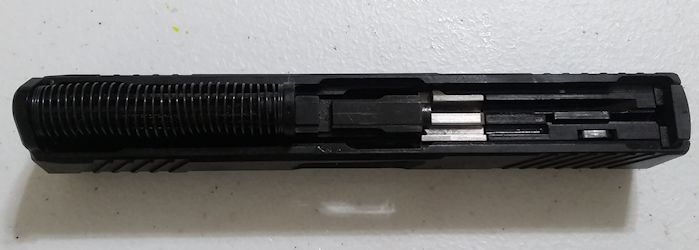
Step 22 - Clean the Barrel, Recoil Spring Assembly and install
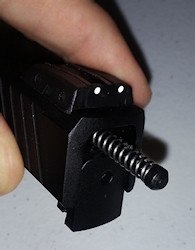
Clean the Barrel (31), Recoil Spring Assembly (33 and 64) and install
Step 23 - Put the slide back on the lower
Put the slide back on the lower
