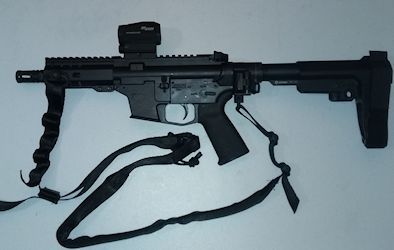
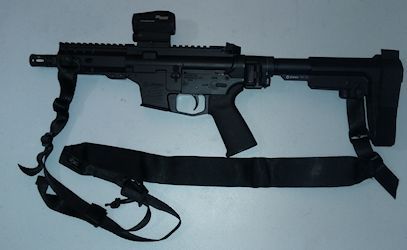
Magpul MOE Quick Detach Sling Attachment Installation Instructions
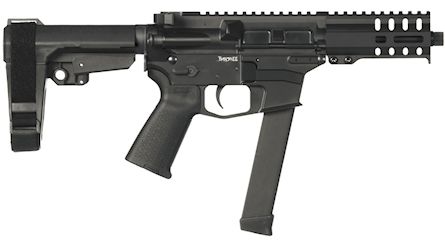
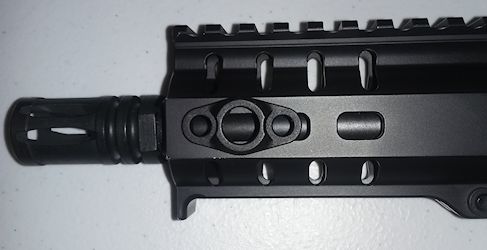
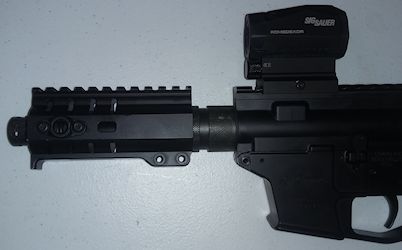
These instructions explain how to install a Magpul MOE quick detach sling attachment on a M-Lok hand guard. A CMMG Banshee 300 is used here but the process is similar if you have a different type of AR.
These are the steps I took to help a friend install a Magpul MOE quick detach sling attachment on his rifle.
I'm not a gunsmith so I recommend work on firearms be carried out by a licensed professional.
This is a guide to help you be a more knowledgeable consumer and the installation instructions that come with the part should be followed.
I assume no liability for any injury to any person or damage to your firearm resulting from attempting this.
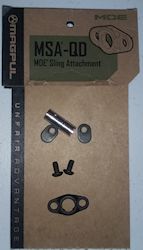
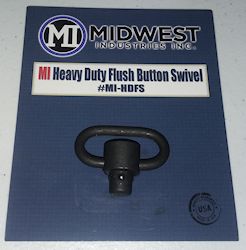
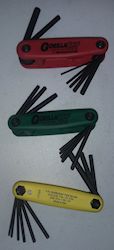
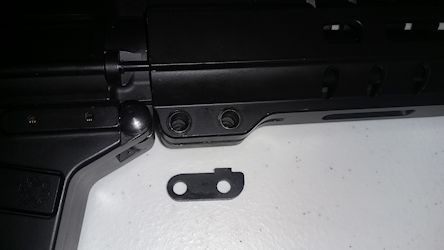
Step 1 - Items used in these instructions
You also need a drill and a vise or some clamps to hold the hand guard while you're drilling
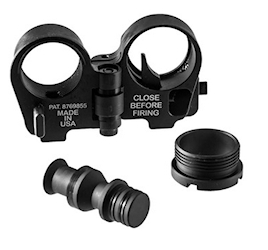
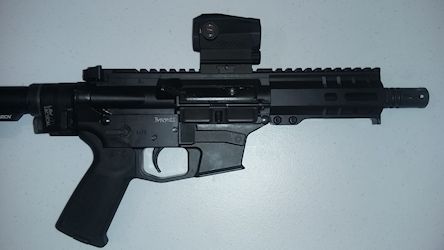
Step 2 - Other items shown in these instructions - in case anybody is curious what some of the other non-standard Banshee parts are
These aren't part of the installation instructions but they're included in case anybody is curious what some of the other non-standard Banshee parts are.
Step 3 - Make sure your rifle isn't loaded
Make sure the magazine is removed, you have no round in the chamber, and the safety is on.
Step 4 - Select the installation location
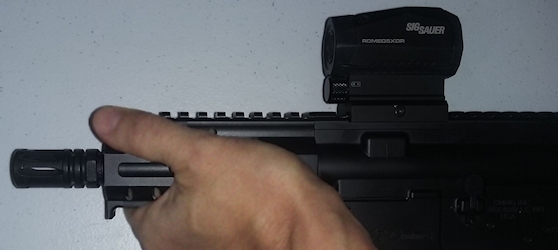
Hold the rifle in your normal grip so you can see where you want to install the attachment.
For me, the location is very limited due to the small size of the hand guard.
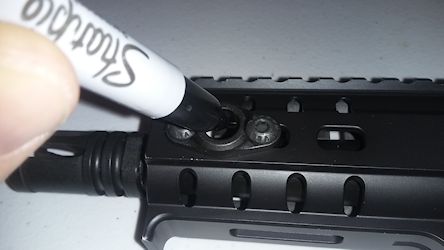
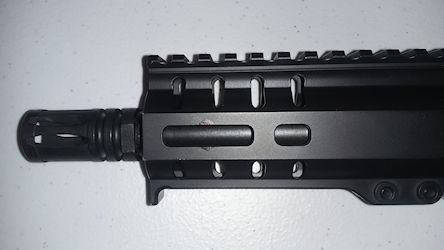
Step 5 - Mark the location with a sharpie marker (Optional)
I recommend marking the location with a sharpie marker.
This way you won't accidentally drill the hole in the wrong place.
This reminds me of the old woods shop saying, "Measure twice and cut once".
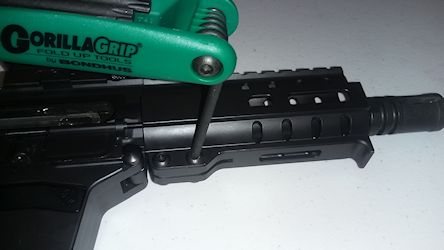
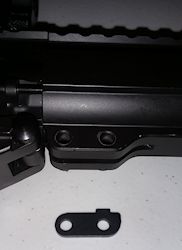
Step 6 - Remove the hand guard screws and spacer
These instructions are specific to a Banshee so they might be different for you
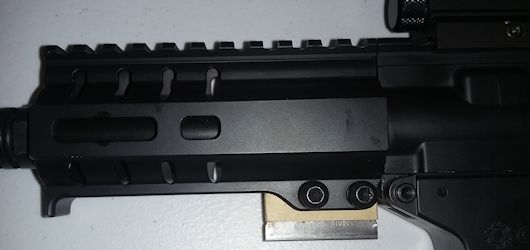
Step 7 - Loosen the hand guard and remove
Even with the screws and spacer out, your hand guard might not move.
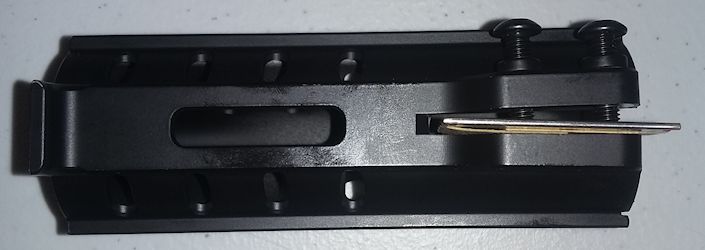
If this is the case, you can try to put a razor blade in where the spacer was and screw the Torx screws in from the opposite side.
Only screw them in until the gap opens enough for the hand guard to slide off.
You can then remove the razor blade and screws.
Step 8 - Install the Mount
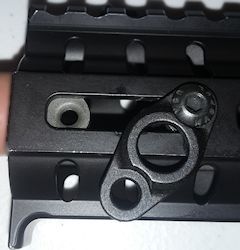
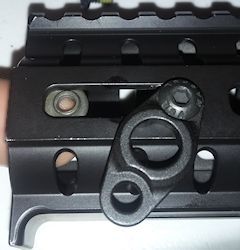
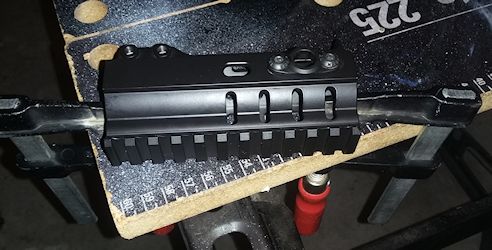
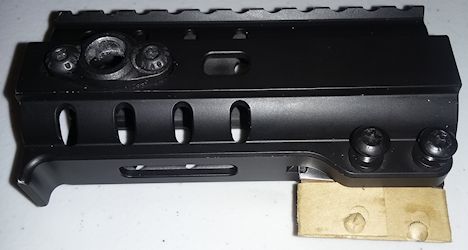
Place the mount over the sharpie mark.
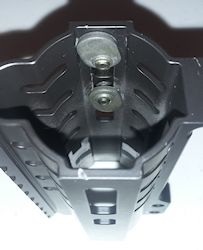
Notice the orientation of the nuts.
The bump on the nuts should be down and not between the groove of the hand guard.
Also make sure the long sides on the nuts do not go under the sling attachment hole.
If they are under the hole they will get damaged when it's time to drill.
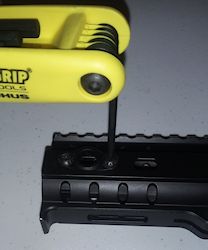
Use a 1/8" allen wrench to tighten the screws.
I was tempted to put some blue Loctite on the threads, but I didn't.
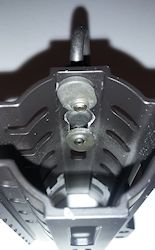
Step 9 - View from the front and back
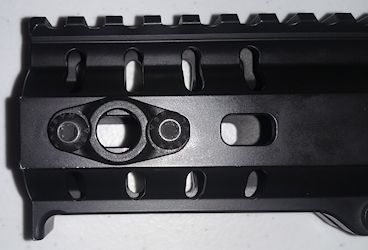
This is what it should look like from the front and back
Step 10 - Last chance to verify before drilling
This is your last chance to make sure you're going to install it in the correct position.
You don't have to actually slide it on the rifle to verify it.
Step 11 - Secure the hand guard for drilling
Secure the hand guard so you can drill
Step 12 - Drill the hole
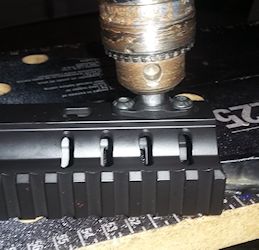
Use the Sling Attachment as a guide and drill the hole.
The instructions for the part say to use moderate speed and pressure to cut through plastic.
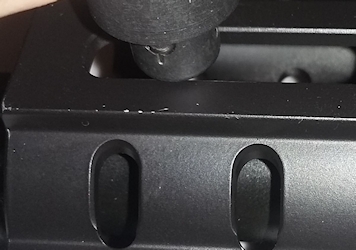
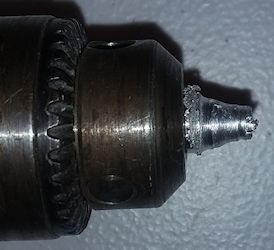
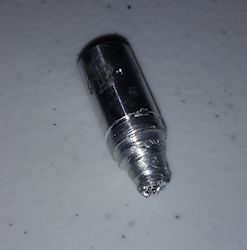
My hand guard isn't plastic so the cutting bit deformed.
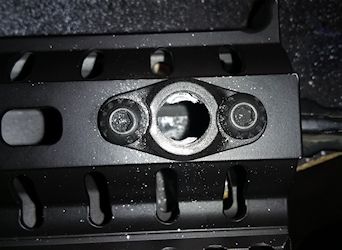
The hole got a good start before the bit deformed but it didn't go all the way through.
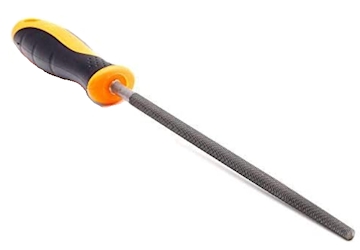
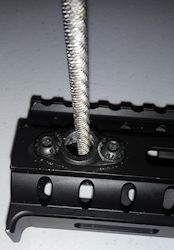
Step 13 - Use a rat tail (round) file to finish the hole
Finish the hole with a rat tail file
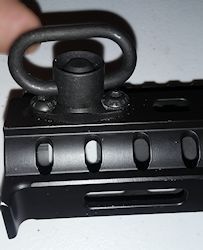
Step 14 - Make sure the Quick Disconnect fits
Insert the quick disconnect and make sure it fits correctly.
Step 15 - Prepare to reinstall the hand guard
Put a razor blade into the slot of the hand guard and use the screws to expand the opening.
Use the thick end of the razor blade.
I originally used the thin end and the razor blade broke.
Step 16 - Install the hand guard
Slide the hand guard back on, install the spacer and tighten the screws.
Step 17 - Insert the Quick Disconnect and sling
Insert the quick disconnect and sling
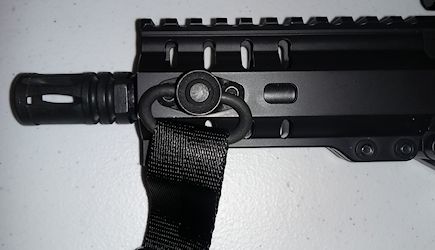
Step 18 - Installation complete
The installation is complete.
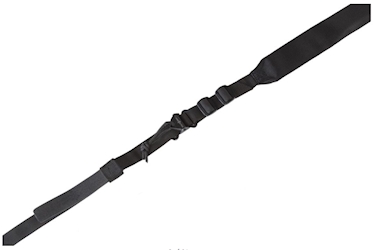
Here it's being shown with a Viking Tactics Wide Padded 2 Point Sling.
It's nice having a Law Tactical installed because it gives the option to install the rear QD to it or the Arm Brace.
