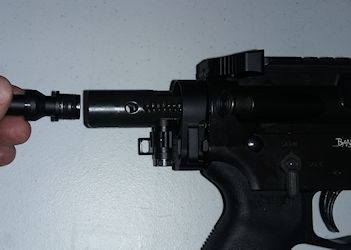
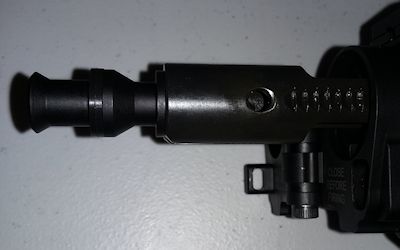
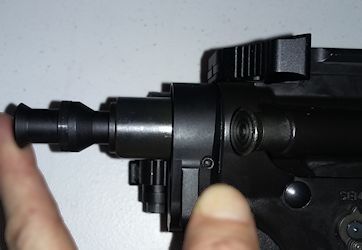
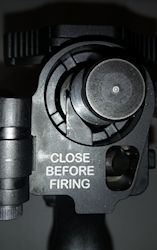
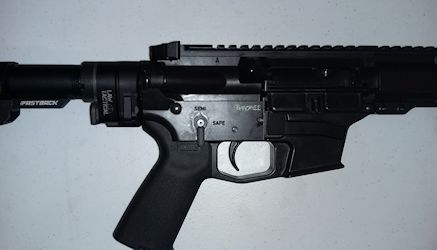
Law Tactical AR Folding Stock Adapter Gen 3-M Installation Instructions
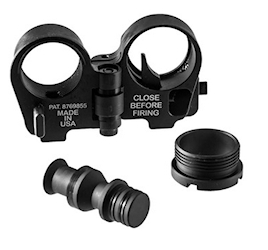
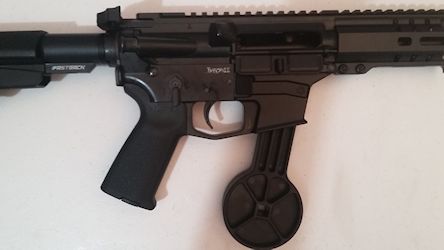
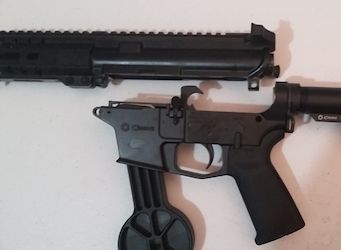
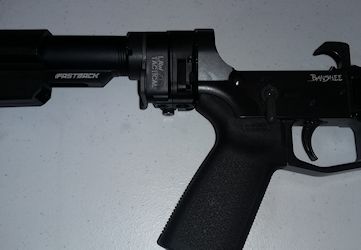
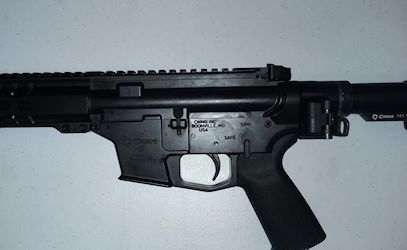
These instructions explain how to install a Law Tactical AR Folding Stock Adapter Gen 3-M. A CMMG Banshee 300 with an arm brace is used here but the process is similar if you have a stock or a different type of AR.
These are the steps I took to help a friend install a Law Tactical AR Folding Stock Adapter on his rifle.
I'm not a gunsmith so I recommend work on firearms be carried out by a licensed professional.
This is a guide to help you be a more knowledgeable consumer and the installation instructions that come with the part should be followed.
I assume no liability for any injury to any person or damage to your firearm resulting from attempting this.
Step 1 - Items used in these instructions
See on OpticsPlanet.com
You need a 3/32", 1/8", and 9/64" Allen wrench. If you don't have Allen wrenches, I like them when they're packaged like the Bondhus GorillaGrip Hex and Star Fold-up Triple Pack. The yellow is standard sizes, red is metric, and green is torx. The ones you need are all in the yellow one but you don't need this full set, it's just what I used.

You need a 3/32", 1/8", and 9/64" Allen wrench. If you don't have Allen wrenches, I like them when they're packaged like the Bondhus GorillaGrip Hex and Star Fold-up Triple Pack. The yellow is standard sizes, red is metric, and green is torx. The ones you need are all in the yellow one but you don't need this full set, it's just what I used.
Optional items Blue Loctite, Vise.
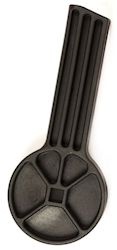
Step 2 - Print out this picture (optional)
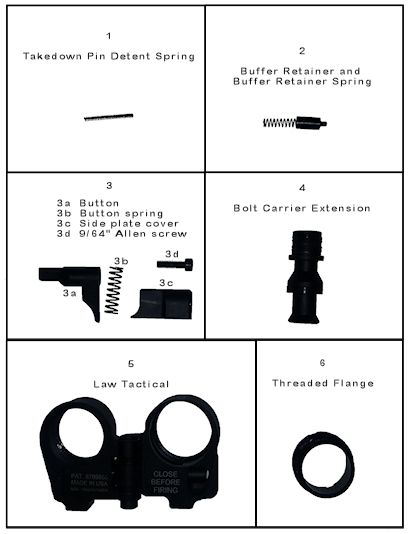
You can use this picture to help identify the parts.
If you print this out on a standard 8" x 11" piece of paper and select the "Fit to page" option,
the pieces should be approximately the correct size.
Printing it out will also allow you to put your parts in the corresponding box as you're going through the steps.
Step 3 - Make sure your rifle isn't loaded
Make sure the magazine is removed and verify the rifle isn't loaded.
If you're using a vise block, go ahead and put it in now.
Step 4 - Remove the upper group
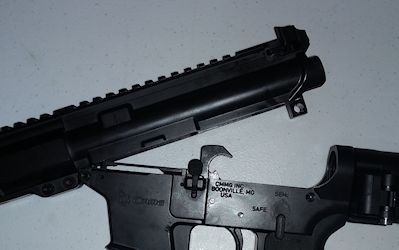
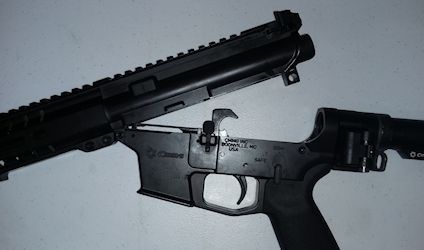
Release the Take Down Pin and the Pivot Pin and remove the upper group.
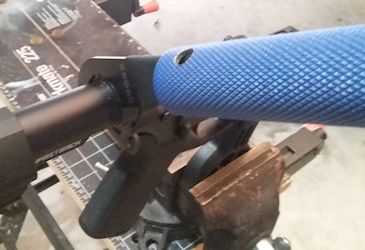
Step 5 - Put the vise block in the vise (optional)
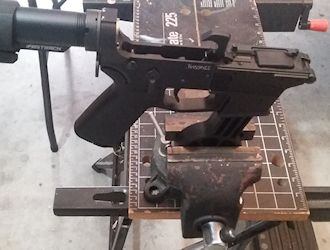
Put the vise block in a vise.
This is optional but my Castle Nut was so tight I'm not sure how I would have loosened it without using a vise.
Step 6 - Remove the Buffer Tube spring
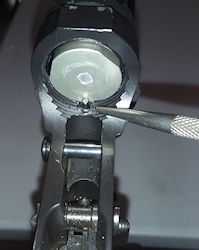
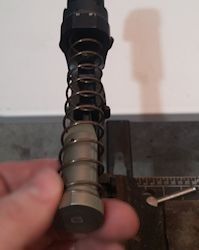
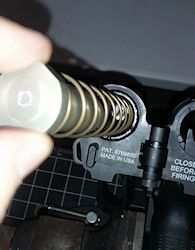
Push down the Buffer Retainer (2) and remove the Buffer and Buffer Tube spring
Step 7 - Loosen the Castle Nut
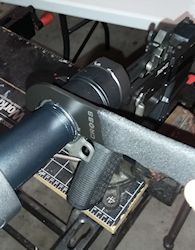
Loosen the Castle Nut.
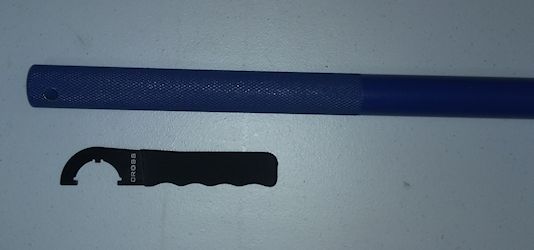
Mine was so tight I had to put a cheater bar on my Castle Nut Wrench to get it loose.
Step 8 - Hold the Receiver End Plate and back off the Castle Nut
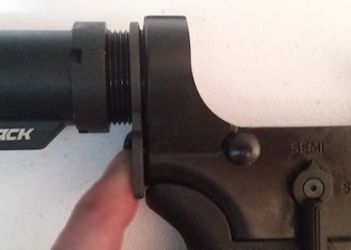
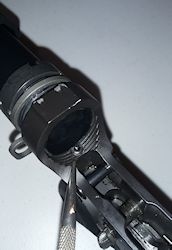
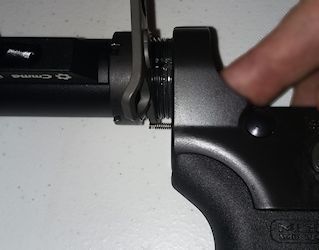
Hold the Receiver End Plate in place as you back off the Castle Nut.
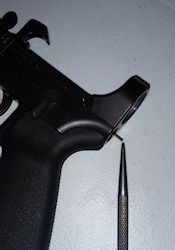
There's a spring behind the end plate that holds the rear Takedown Pin in place.
The space created by backing out the Castle Nut shouldn't be enough to let the spring out but still
be careful it doesn't fly out unexpectedly.
Step 9 - Remove the Takedown Pin Detent Spring
Put your right finger over the Buffer Retainer so it doesn't fly out by accident.
The Buffer Retainer will come out after this step.
Rotate the stock/arm brace approximately 90 degrees with your left hand.
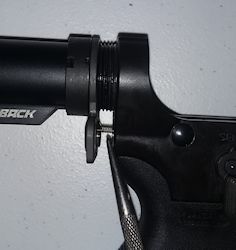
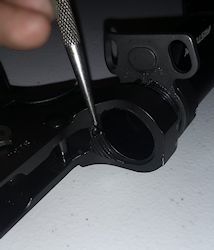
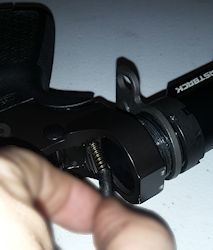
Rotate the stock/arm brace just enough so you can remove the Takedown Pin Detent Spring (1) with your left hand.
Be careful not to tip the Lower Receiver upside down because there's a
Takedown Pin Detent in the hole that you don't want to come out.
Step 10 - Takedown Pin Detent movement warning
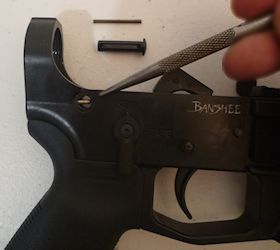
Try not to let the Takedown Pin Detent move too much.
If the pin moves back too much, the Takedown Pin might come out.
If this happens, the Takedown Pin will need to be put back in.
When doing so, make sure the Takedown Pin Detent aligns with the groove in the Takedown Pin.
Step 11 - Remove the Buffer Retainer and Buffer Retainer Spring
With your finger over the Buffer Retainer, rotate the stock/arm brace about one full turn.
Once the Buffer Retainer is no longer captured by the Buffer Tube, remove the Buffer Retainer and Buffer Retainer Spring (2).
Step 12 - Remove the Buffer Tube
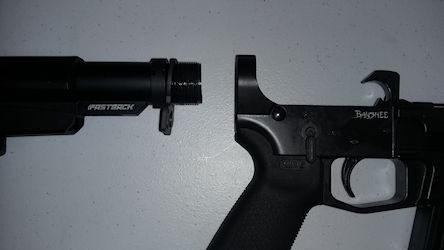
Unscrew the Buffer Tube until it comes off the Lower Receiver.
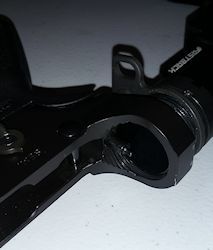
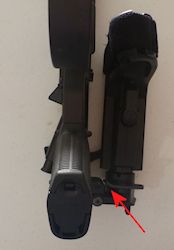
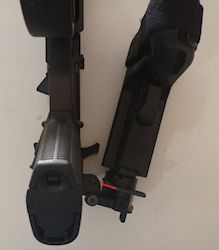
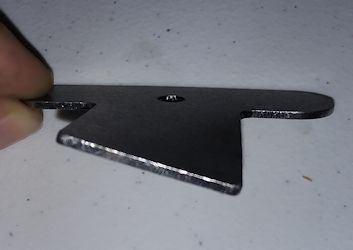
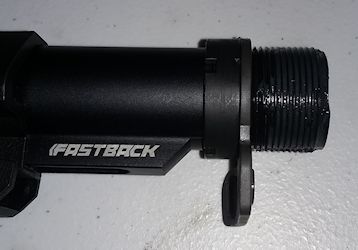
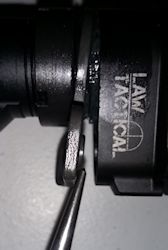
Step 13 - This is a preview of the last step - Bend the Receiver End Plate so it will fold all the way (optional)
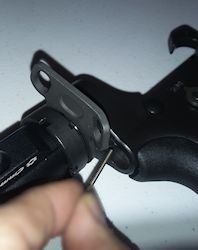
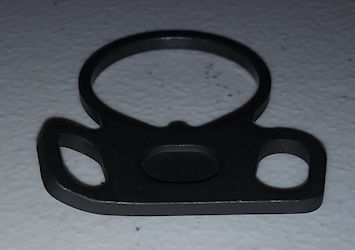
If your Receiver End Plate doesn't have a sling mount you can skip this.
If your Receiver End Plate has a sling mount, it might keep the Law Tactical from folding as far as you would like.
You could bend it now or you can wait until after everything is put back together.
I mention it now because bending it here will be easier here than after assembly is complete.
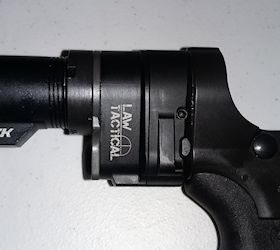
This is what it looks like after it's all put back together.
Another note about this is at the end of these instructions.
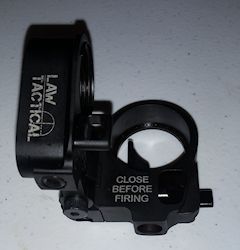
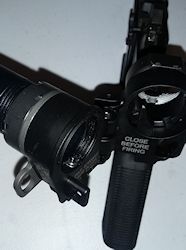
Step 14 - Bend the Law Tactical about 90 degrees
Bend the Law Tactical about 90 degrees.
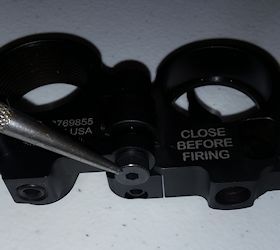
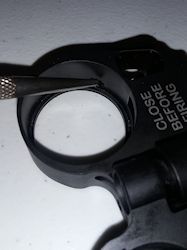
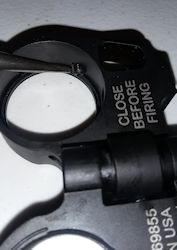
If it's too difficult to bend, you might need to loosen the 1/8" Hinge Bolt.
Only loosen it enough to allow you to open and close the Law and be careful not to remove the Allen screw.
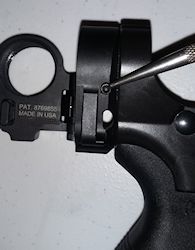
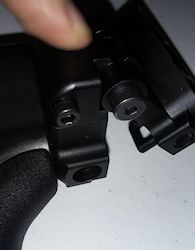
Step 15 - Remove the button from the Law Tactical
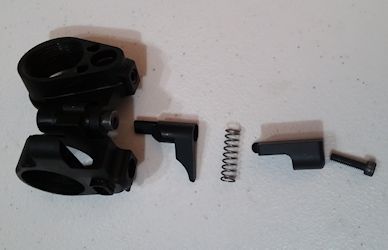
On the Law Tactical remove the:
Try to keep in mind how it will go back in but it's not that big of a deal.
I don't see a way of putting it back in wrong.
- 9/64" Allen screw (3d)
- Side plate cover (3c)
- Button spring (3b)
- Button (3a)
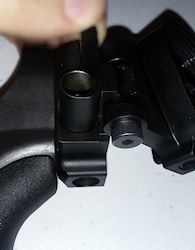
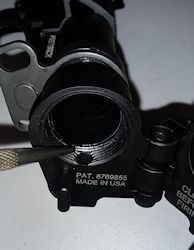
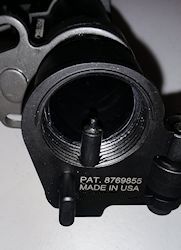
Step 16 - Back out the 3/32" Flange Set Screw
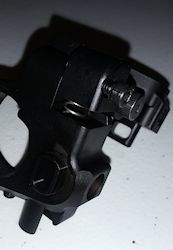
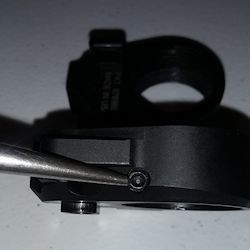
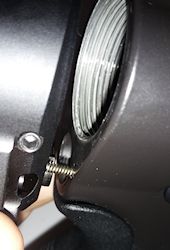
Back out the 3/32" Flange Set Screw (Allen head) so it doesn't interfere when you install the Threaded Flange.
You don't need to completely remove it.
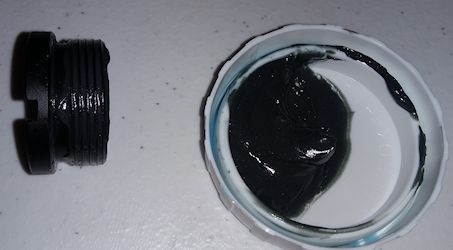
Step 17 - Put grease on the threads of the Threaded Flange (optional)
Grease the threads of the Threaded Flange (6) (optional).
Step 18 - Put the Takedown Pin Detent Spring in position
Put the Takedown Pin Detent Spring (1) back in place.
Step 19 - Put the Law Tactical in place and install the Threaded Flange
Put the Law Tactical in position.
Be careful to compress the Takedown Pin Detent Spring (1) correctly.
The Law Tactical only goes in one way because the protrusion on the Law goes in the depression on the lower.
Screw the Threaded Flange (6) in by hand, being careful not to cross thread it.
It might help to slightly wiggle the Law as you're screwing the Threaded Flange in.
Step 20 - Torque the Threaded Flange
Use the included "T" tool to torque the Threaded Flange in place.
When the "T" tool starts to deform, it's properly torqued.
Step 21 - Tighten the 3/32" Flange Set Screw
Tighten the 3/32" Flange Set Screw so the Threaded Flange stays in place. At some point I will probably put some Blue Loctite on this set screw.
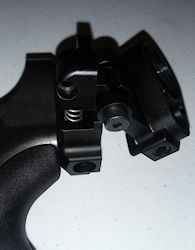
Step 22 - Put the Law Tactical parts back in
Fold the Law Tactical about 90 degrees and reinstall the:
The pieces only go in one way. Be sure to tighten the Allen screw all the way. It's shown here loose.
- Button (3a)
- Button spring (3b)
- Side plate cover (3c)
- 9/64" Allen screw (3d)
Step 23 - Verify the Law Tactical button works
Verify the Law Tactical button pushes in and comes back out by the spring pressure.
Step 24 - Put some grease on the Buffer Tube threads (optional)
Put a little grease on the Buffer Tube threads (optional).
Step 25 - Start installing the Buffer Tube into the Law Tactical
Start screwing the Buffer Tube in until it almost reaches the hole in the Law Tactical for the Buffer Retainer and Buffer Retainer Spring (2).
Step 26 - Install the Buffer Retainer and spring and position the stock/arm brace.
Install the Buffer Retainer and Buffer Retainer Spring (2).
While compressing the Buffer Retainer Spring,
screw the Buffer Tube in until it captures the Buffer Retainer Spring and is also properly oriented.
Step 27 - Hand tighten the Castle Nut
Hand tighten the Castle Nut.
The protrusion on the Receiver End Plate will align with the hole in the Law Tactical.
There should be no gaps between the Castle Nut, the receiver end plate, and the Law Tactical.
Step 28 - Make sure you can open and close the Law Tactical
Make sure you can open and close the Law Tactical
Step 29 - Tighten the Castle Nut
Tighten the Castle Nut with the Castle Nut Wrench
Step 30 - Install the Buffer and Buffer Spring
Install the Buffer and Buffer Spring and make sure the Buffer gets captured by the Buffer Retainer
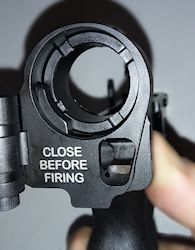
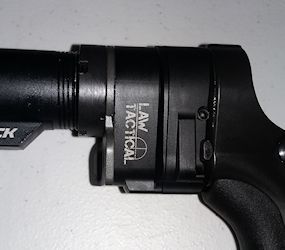
Step 31 - Close the Law Tactical
Close the Law Tactical.
Step 32 - Put the Upper back on
Put the Upper back onto the Lower.
Lock it in place with the Pivot Pin and Take Down Pin.
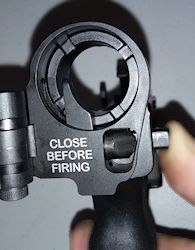
Step 33 - Pull the bolt carrier group out
Open the Law Tactical.
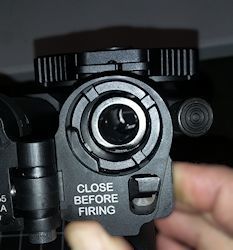
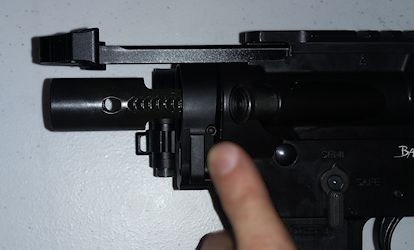
While pushing in the Law Tactical button, pull out the charging handle.
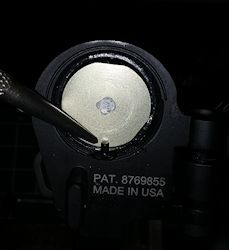
Step 34 - Insert the Bolt Carrier Extension into the Bolt Carrier Group
Insert the Bolt Carrier Extension (4) into the Bolt Carrier group.
Step 35 - Push the Bolt Carrier Group back in
Push the bolt back into the receiver.
You shouldn't need to press the Law Tactical button for it go go back in.
It should snap in place and the Law Tactical captures it.
Step 36 - Close the Law Tactical and test
Close the Law Tactical and test the operation of the charging handle.
Remember the rifle should never be fired when it's in the folded position.
Step 37 - Bend the Receiver End Plate so it will fold all the way (optional)
If your Receiver End Plate has a sling mount and you didn't bend it earlier in Step 13, you probably see the issue now.
Luckily it shouldn't be too difficult to bend it with a pair of pliers here.
