Glock 44 Front Sight Installation Instructions
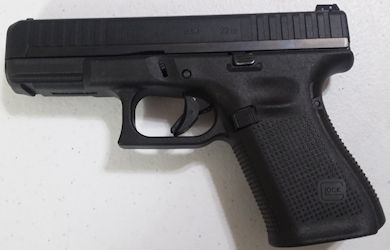
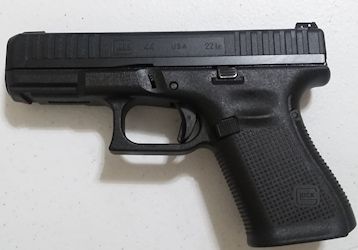
These instructions explain how to install a front sight on a Glock 44 pistol. This is an easy operation if you have the Truglo tool or similar as shown below.
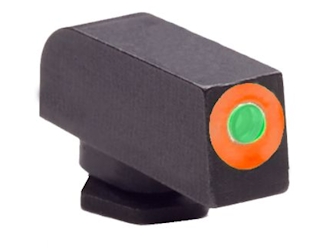
These are the steps I took to help a friend install an Ameriglo front sight on his Glock 44 pistol.
I'm not a gunsmith so I recommend work on firearms be carried out by a licensed professional.
This is a guide to help you be a more knowledgeable consumer.
I assume no liability for any injury to any person or damage to your firearm resulting from attempting this.
Step 1 - This is what is being done
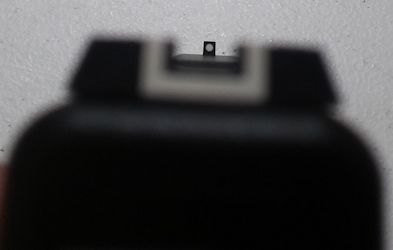
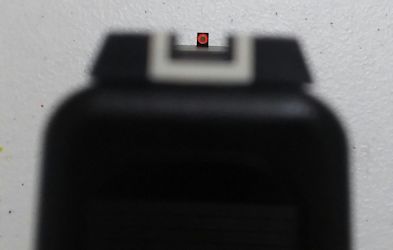
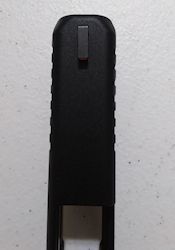
This is the original sight picture vs. the new. The new has a green center that shows up when the light is low.
Step 2 - Items used in these instructions
Some people might want to use Blue Loctite as well.
Step 3 - Make sure your pistol isn't loaded
Remove the magazine and make sure the pistol isn't loaded.
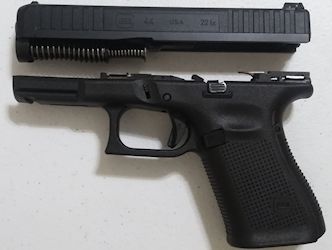
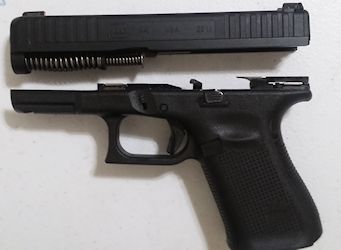
Step 4 - Remove the slide assembly
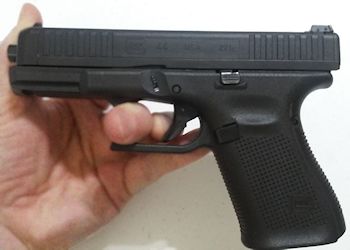
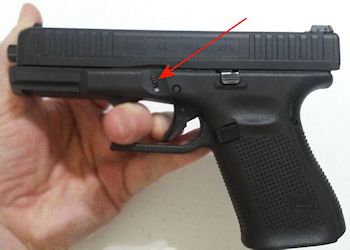
Here's how I remove the slide assembly.
- Pull the trigger.
- Put your left finger in the trigger guard for leverage.
- Push the slide back about 1/8" with your thumb.
- Push the slide lock down on both sides.
- Push the slide forward and remove it.
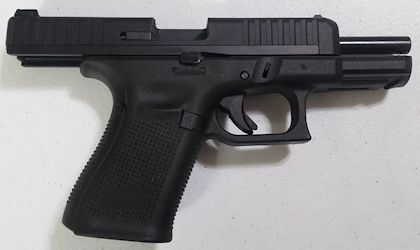
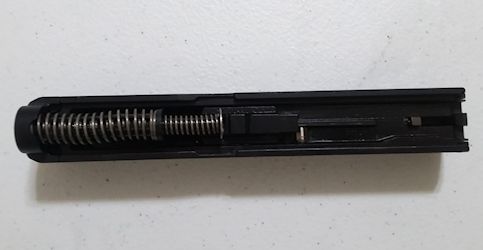
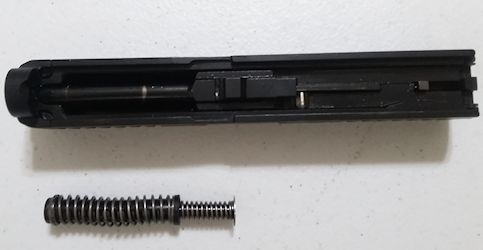
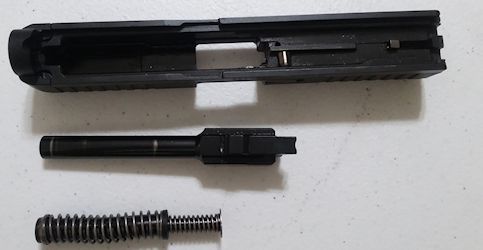
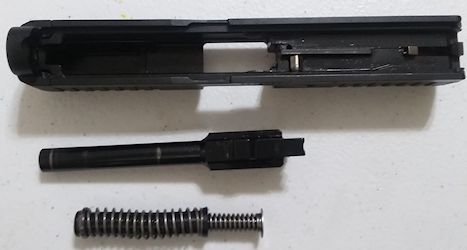
Step 5 - Remove the recoil spring assembly and barrel
Remove the recoil spring assembly and barrel
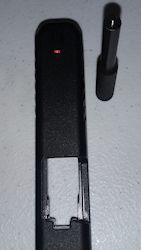
Step 6 - Remove the front sight screw
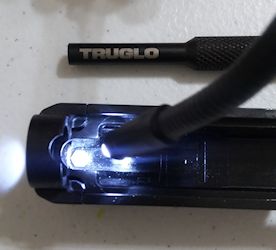
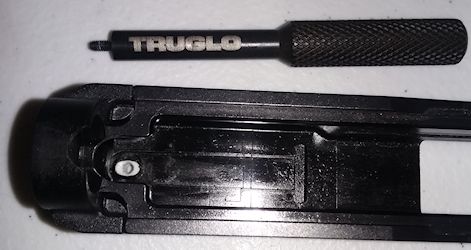
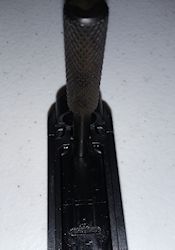
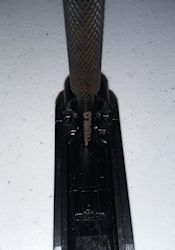
Use the Truglo tool to remove the front sight screw.
I don't think the screw could be removed without a specialized tool.
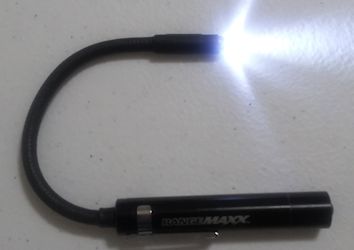
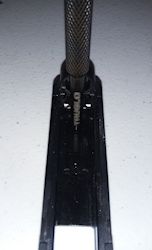
I had a hard time getting the tool on so I used my bore light to get a better look.
I could see the tool just needed to be pushed on harder.
I ended up slightly turning it as I firmly pushed it on until I heard it snap in place.
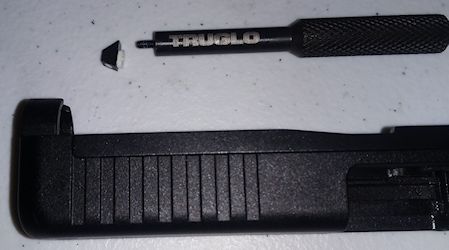
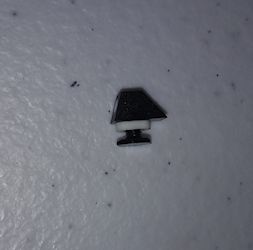
Step 7 - Remove the top part of the sight.
The top part of the sight should now just come off.
I decided to keep the old one in case I want it in the future.
Step 8 - Prepare for installation
Put the new screw on the Truglo tool and put the top sight on the slide
Step 9 - Install the sight screw
Snug the sight screw into the sight but don't tighten it yet.
Straighten the top of the sight.
Then tighten the screw.
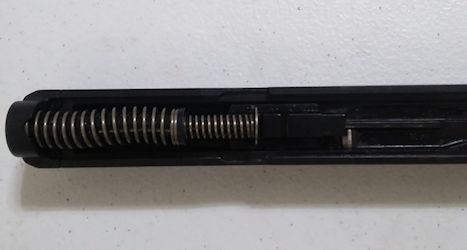
Step 10 - Reinstall the barrel and recoil spring assembly
Reinstall the barrel and recoil spring assembly.
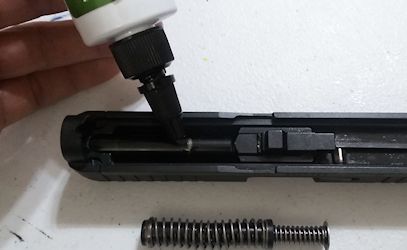
There's some visible wear on the barrel so I put some oil on.
Step 11 - Put the slide back on
Put the slide back on
Step 12 - Original Vs. New
This is the original sight picture vs. the new. The new has a green center that shows up when the light is low.
